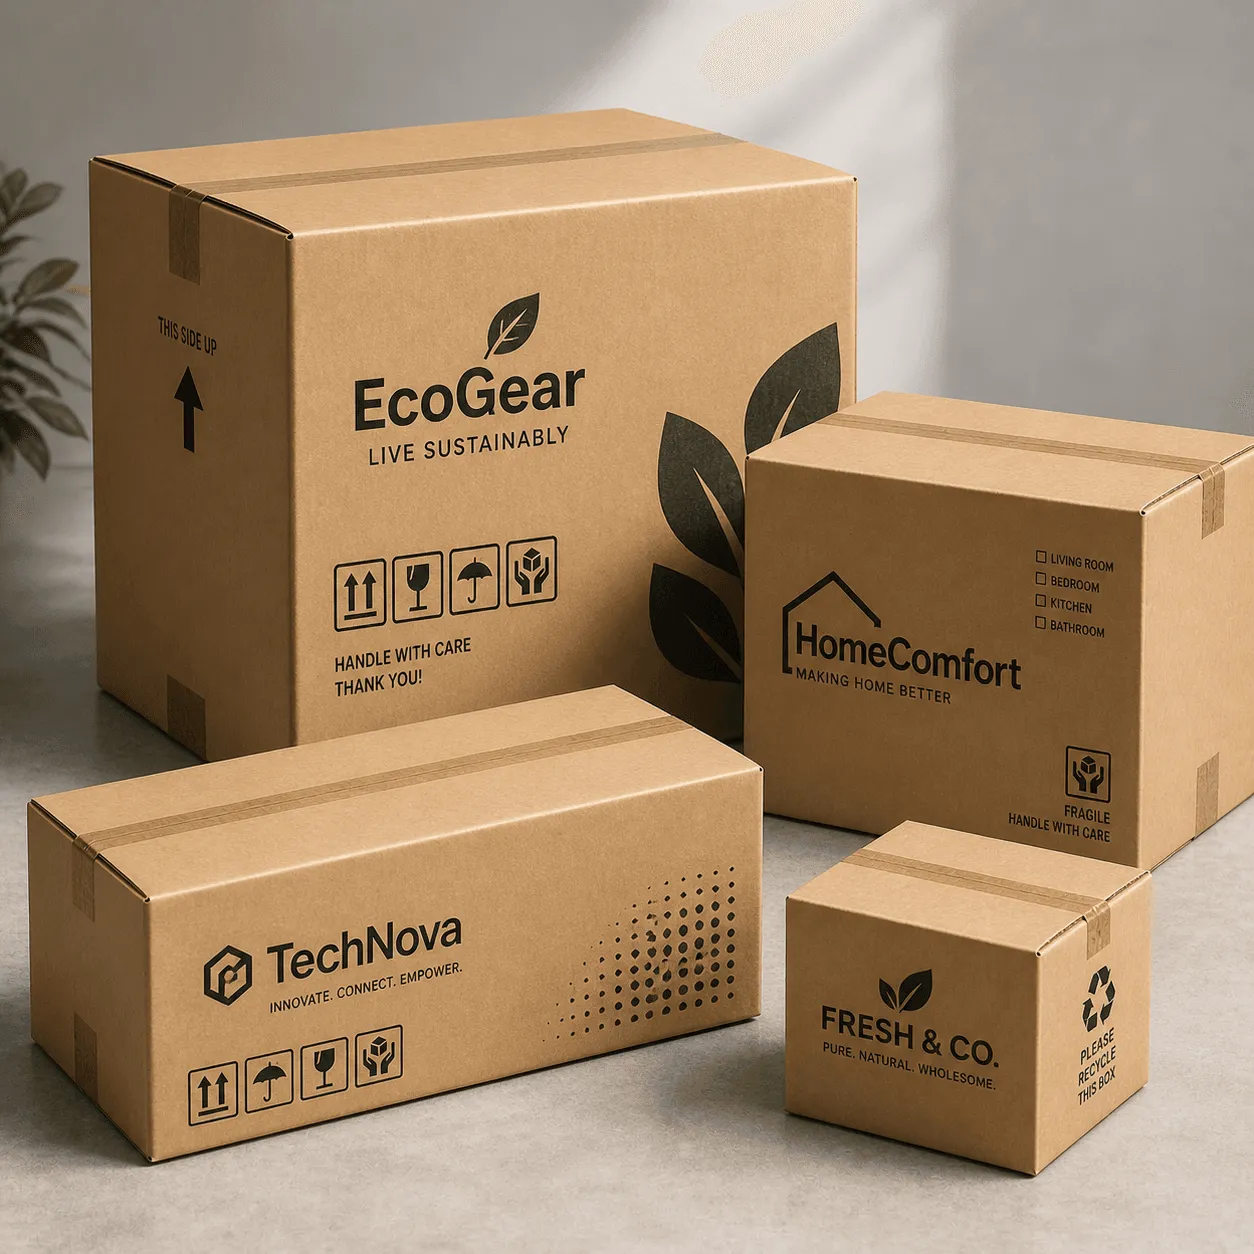
Yes, you can design a custom shipping box for free, and loads of small brands do exactly that. Canva, Adobe Express, Inkscape, any of them will handle the artwork. What trips people up is almost never the logo or the colors. It’s the dieline, that flat technical drawing showing where the box gets cut and folded and glued.
So the realistic free route? Measure your product, grab a dieline for the box style you want (plenty of manufacturers hand them out at no charge), drop your artwork onto it in a free tool, then let the printer check the file before anything’s made. We’ll walk through each step below along with the mistakes we’ve watched people pay for twice.
What’s Free, and What Isn’t
Doing the design yourself costs nothing. Templates, mockup generators, the basic plan of most design apps, all free. The bit you can’t skip is getting the structure right, because a shipping box is a 3D thing printed flat, and once it’s folded your artwork has to end up on the right panel facing the right way. We’ve seen files that looked perfect on a laptop print with the logo upside down on the lid. Happens more than you’d think.
That’s why the dieline matters more than whatever app you like. On our side at The Pioneer Packaging, the team sets up the dieline and lays out the artwork at no extra cost, and we check uploaded files for print problems too. Lots of manufacturers do something like that. Ask before you start (it’ll save you hours of designing on the wrong template).
Step 1: Pick the Box Style and Measure the Inside
There are a handful of common shipping styles. The plain brown box with four flaps top and bottom is a regular slotted carton, and it’s the cheapest. Most ecommerce brands, though, go for roll end mailers like tuck top mailer boxes, with a lid that folds over and tucks in, since they open nicely and barely need tape. Choose the style before anything else. Every style has its own dieline.
Then grab a tape measure. Box sizes are inside dimensions, length x width x height, always that order. Measure the product at its widest, add any insert or tissue, and give it maybe 1/8 to 1/4 inch of wiggle room on each side, because too tight and the lid bulges, too loose and it rattles all the way to Ohio. Our guide on how to measure a box goes step by step, and these mailer box dimensions are decent starting sizes.
Step 2: Get a Dieline Before You Design a Custom Shipping Box
On a dieline you’ll usually see solid lines for cuts, dashed ones for folds, plus a bleed area and the glue flaps. Confusing at first. Here’s our favorite trick, print the dieline on plain paper at 100%, cut it out, fold it into a little box and scribble “TOP” and “FRONT” and so on right on the panels, then unfold it, and suddenly you can see which panels sit upside down in the flat layout.
Never scale a dieline to fit. A 10 x 8 x 4 inch box needs a dieline built at exactly that size, since the thickness of the corrugated board nudges the panel widths a little, and an E-flute dieline won’t match a B-flute one for the same box. So get it from whoever is actually printing your box.
Step 3: Build the Artwork in a Free Tool
Canva’s the easiest start. Drop the dieline in as a background layer, build each panel over it, and before export either hide the dieline or keep it on its own layer if your printer wants it that way. Adobe Express works pretty much the same. Comfortable with vector stuff? Then Inkscape is free and more precise with dielines, and your logo and text stay sharp at any size.
Go simpler than you think you should. We’d honestly take a one-color logo on the lid and a short note on the inside flap over a full photo spread on corrugated most days. There are flutes under the surface of that board, and fine detail or big solid blocks of color can show faint stripes. Bold shapes print well. So does clean type.
Step 4: Make the File Print-Ready
This is where free designs usually come up short. Quick checklist before you send it:
- Run background colors and images about 1/8 inch past the cut line (that’s bleed).
- Keep text and logos at least 1/8 inch inside any fold or cut line.
- Images at 300 dpi at the size they’ll actually print.
- A vector logo (SVG, AI, EPS or PDF), not some tiny PNG.
- Outline or embed your fonts so they don’t swap.
- Export a high-quality PDF.
Then there’s color. Your screen shows RGB but the press prints CMYK, so that bright blue or green on your monitor often comes out duller on board, and on brown kraft corrugated everything goes a shade darker. Some free tools won’t export CMYK at all. That’s okay if your printer converts it and shows you a proof first, and you should always get a digital proof before production anyway, plus we’d ask for a physical sample on a bigger run.
Shipping Box Design Mistakes That Cost a Reprint
We see the same ones over and over. The lid panel’s flipped in the flat layout, so the logo prints upside down. Text runs across a fold and splits in half. The best bit of art sits right where the shipping label or the tape goes (leave a blank spot on top for labels, please). And the inside print gets forgotten until after ordering, even though a printed inside lid is often what customers actually photograph.
One more. People design a lovely box that just doesn’t suit the product, and a heavy item in a thin mailer gets crushed no matter how good the art is. Anything over a few pounds? Look at custom shipping boxes in a tougher board, or browse corrugated shipping boxes by style. For lighter stuff and subscription orders we’d usually point you to custom mailer boxes printed inside and out.
FAQs on How to Design a Custom Shipping Box
Can I design a shipping box in Canva and send it to print?
Yep, as long as it’s built on the correct dieline with bleed and exported as a high-quality PDF. Have your printer check it before production.
Where do I get a free dieline?
Ask the manufacturer, most will send one for the exact style and size you’re ordering. Generic templates online are okay for mockups but might not match your board thickness.
Do I need to print on the inside of the box?
Nope. It’s a cheap way to make opening the box feel a bit special though, and it usually costs less than people expect.
Got a rough design, or just a logo? Send it over with your box size and our team will set it up on a dieline and send you a proof.